I opened the box and began to take them out. My heart sank deeper each time I brought out another glass item with a chip in it. My grandma-in-law gave me her glass dinnerware set a few years ago. It had survived the three-and-a-half-hour trip across state lines only to have gotten jostled too much either during our 15-minute move across town or moving from shelf to shelf in our garage. In any case, about half of the goblets, teacups and candle holders appeared to have a tiny chip on the edge. I couldn’t throw them away, but I also couldn’t use them to serve food. What to do with chipped teacups? Upcycle into DIY teacup candle holders, vases and serving dishes!
I had been unpacking the dinnerware to find teacups to use for my daughter’s birthday party. So instead of using the cups for drinks, I decided a DIY teacup project intervention was needed. I’d use the cups as practical serve-ware and aesthetic centerpieces instead.
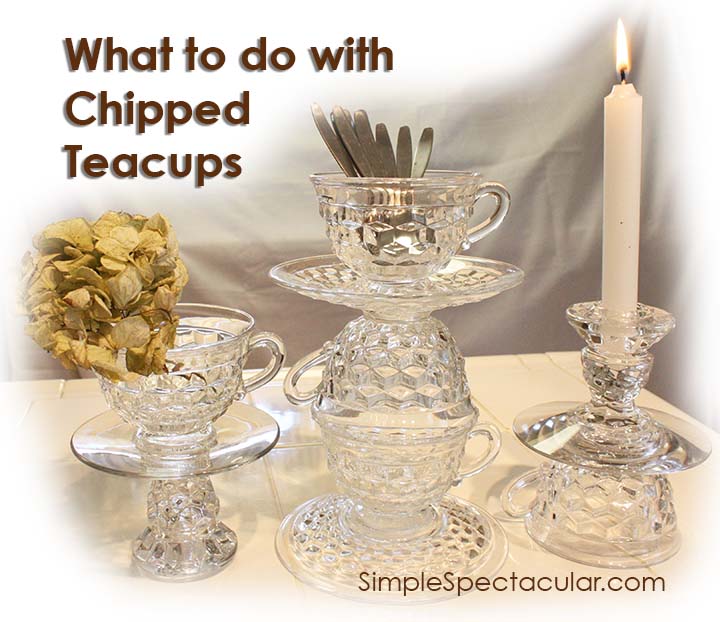
I found, if I turned one cup upside down and covered the chipped bottom edge with a small saucer, the cup acted like a pedestal, creating a more dramatic serving plate.
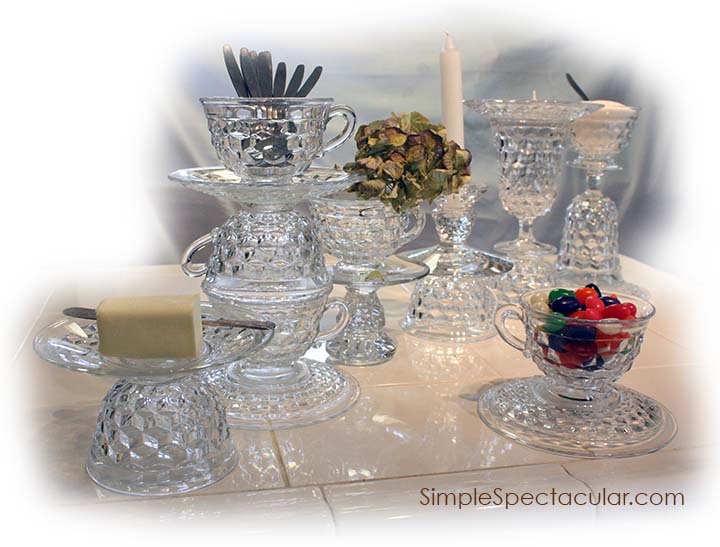 So, I gathered all of the broken items and stacked them in different patterns until the broken edges were covered and I was satisfied with the way it looked.
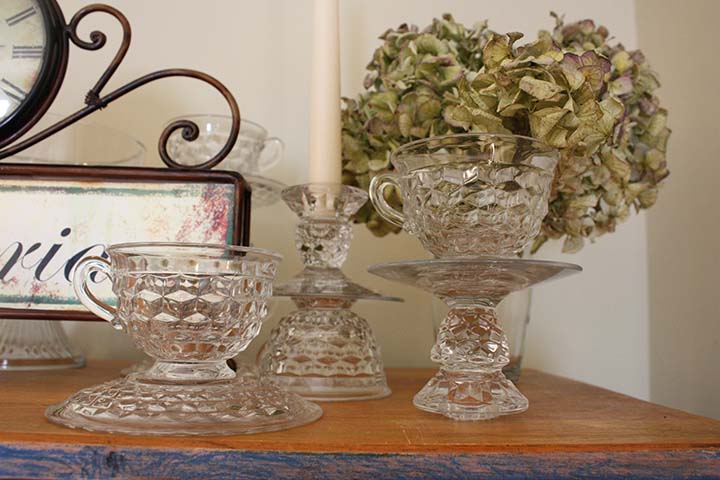
Then, I broke out the Goop and started gluing. A day or two later, I had a new collection of serving plates, candle holders and cups. The new arrangements were clearly more unique and aesthetic than the original versions, and they turned out practical too!
In fact, I get so much more use out of them now than when they were ordinary cups and plates! I’m proud to display Grandma’s pieces in a whole new way!
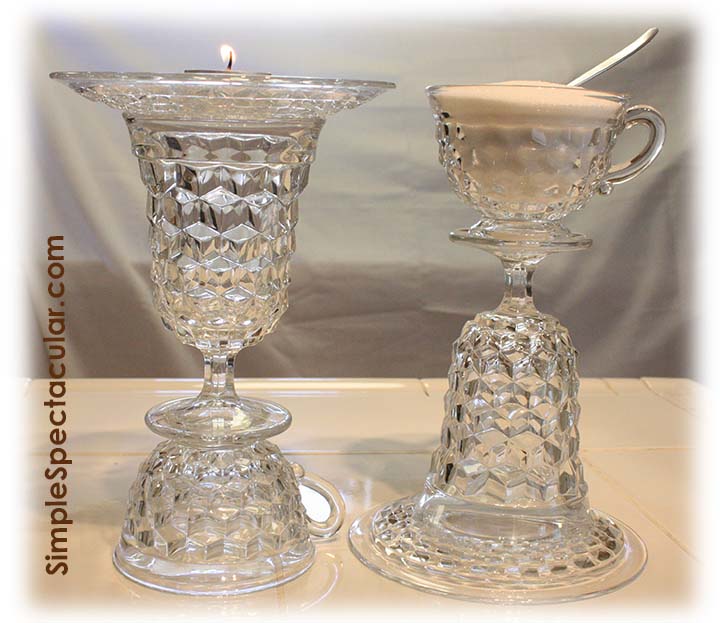 Each piece can function two ways; the fun thing is… any side can be “up!” One way, it’s a butter dish. Flip it upside-down, and use it as a sugar bowl! Another piece is a combination silverware holder and pillar candle stand. A third is either a flower bowl or a taper candle holder – depending on my mood and need of the moment!
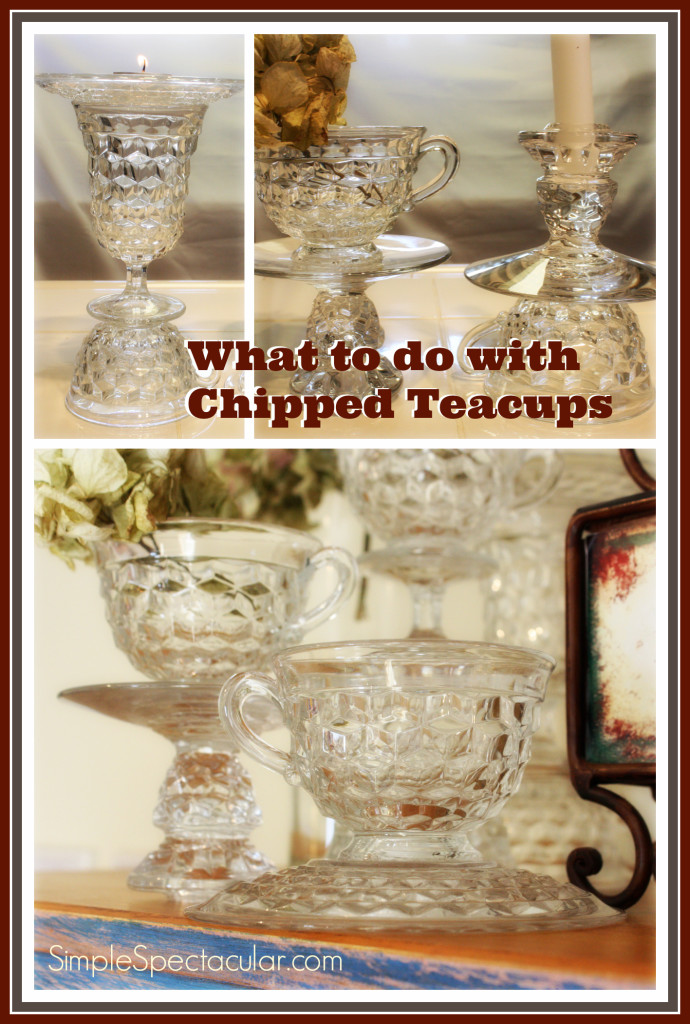
What to do with Chipped Teacups?
Step-By-Step Instructions for DIY Teacup Candle Holders & Servingware
- Gather small saucers and chipped candle holders and cups.
- Stack them two, three or four pieces high. You want to make sure all of the chipped edges are resting against another surface, so no sharp edges will be a safety problem once the project is finished. Also, check to make sure the stack is very stable – especially if you plan to use it with a lit candle. Lastly, make sure you like the look of the creation.
- Over a covered work surface, spread a thin layer of Goop, or your favorite adhesive, along the edge that will be glued to another piece. Set the second piece atop the edge with glue.
- Let this dry for 24 to 72 hours.
- If you’re adding a third piece, repeat step three after the first two pieces have finished drying. Continue with a fourth piece, and so on, until your “tower” is done!
- Enjoy your new piece! *Note that Goop should not be used on any surface in which food will be used. I only used it between the pieces, so the food would never come in contact with the “Gooped” surfaces.
Share your ideas! How would you use your DIY teacup towers?

Susan@learningandyearning
I was have been broken hearted, but you redeemed them!!! Great job.
Erika at Simple.Spectacular!
Thank you Susan! I know, especially with something so sentimental, I’m glad they’re still being enjoyed!
Cheryl Kaiser
What a great idea! I just store chipped things I can’t fix because I can’t bear to toss them. Now I’ll have to revisit them and see what I can create. Thanks for the inspiration!
Cheryl Kaiser
Oops, website entered incorrectly. S/b visionjourney.wordpress.com
Erika at Simple.Spectacular!
I do the same thing, Cheryl! I’d love to see what creations you come up with! Have fun with it!
Sue @ Country Design Home
These are adorable! If have quite a few chipped cups that I just cant throw away-great project!
Erika at Simple.Spectacular!
Thanks, Sue! I’m like you too… it’s hard to throw away beautiful things – even when they’re a bit broken!